pfSense Guide
Note: This article was made for an older version of this site. Some formatting may be inconsistent
Hello people from the future! This guide was written for pfSense 2.7.1. Some stuff may have changed since then
Goals / Who this is for
This guide is targeted at people who already understand the basics of computer networking (IP Addresses, DHCP, etc.), and want to dive further down the discovery rabbithole, while also building a functioning firewall that can be configured to help network security.
Note: pfSense requires a bit of time messing around in the web UI until you get the hang of it, so get ready to spend some time to get acquainted to the interface.
Hardware
Pretty much any old desktop computer from the last ~15 years should be more than enough as long as it has:
- An x86-64 CPU (As long it’s a consumer PC or server made in the last 15 years it should be fine)
- Two RJ45 Ethernet ports
- Most computers only have one, but one can be added through USB or PCIe
- I would recommend the TP-Link TG-3468 as a budget-friendly PCIe expansion card.
- Most computers only have one, but one can be added through USB or PCIe
- At least 2GB of System Memory (RAM)
- pfSense requires 1GB, but more is needed when there are many connected devices.
- A USB drive to hold the installer (Must have > 1GB capacity)
pfSense is based on the FreeBSD operating system. A full list of supported hardware can be found on the FreeBSD website.
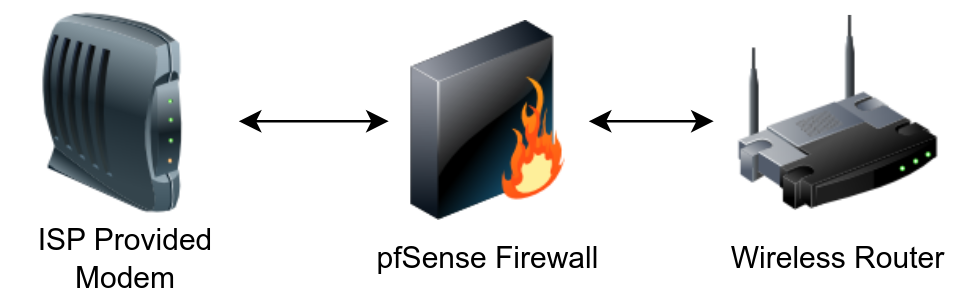
Example network topology
In this guide, we will assume that this firewall is between your ISP-provided modem and your wireless router. If your ISP only provided a modem/router combo box, contact support to ask about using your own router.
pfSense CE vs pfSense Plus
The pfSense branding applies to two different operating systems, pfSense CE (Community Edition) and pfSense Plus. pfSense CE is Free and Open Source, meaning that the source code is freely available to view, modify, and redistribute. pfSense Plus is a closed-source version maintained by Netgate.
For more information on the differences between pfSense CE and pfSense Plus, view the official FAQ
Note: pfSense Plus used to be free for non-commercial use, but Netgate has removed that subscription tier. The cheapest subscription plan is $129 per year.
Installing the OS
Note: This guide assumes that your firewall has a video output. If you are using serial, please follow the official documentation
Downloading the OS
The pfSense CE download image can be obtained from the pfSense website.
Architecture should be set to AMD64, and installer can be set to USB Memstick or DVD Image. Both can be flashed onto a USB stick. Here is a full comparison
If you have chosen to use pfSense plus, you can update from pfSense CE to pfSense Plus after installation.
Flashing the Image onto a USB Stick
Once the file has downloaded, open the usb-flasher of your choice (I recommend Balena Etcher), and flash the file.
Note: This will wipe the contents of the USB stick, so make sure there’s nothing important on it.
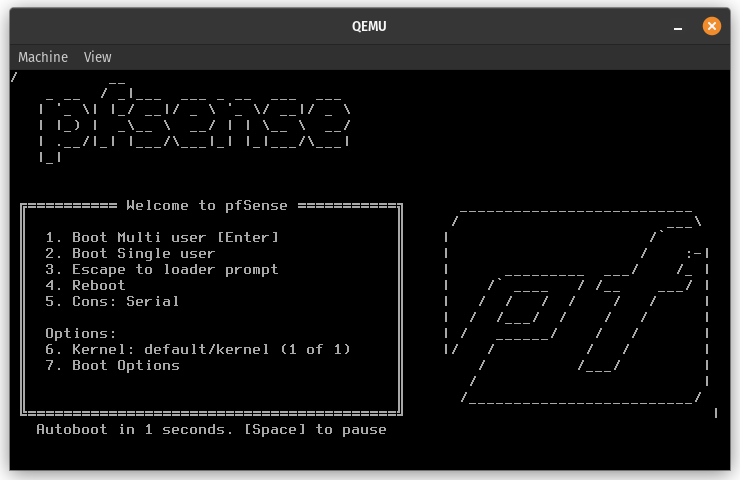
Booting into the installer
- Insert the USB device into a USB port on the back of the motherboard (Front of the case should be fine but don’t use a USB hub)
- Shut down the device
- Start the device
- Open the boot selection screen
- This is different for every computer, but normally holding down
DELETEworks. - You can also try
F2orF12 - If those don’t work, consult your motherboard or computer’s manual.
- This is different for every computer, but normally holding down
- Select to boot from the USB drive
- You should now see a pfSense boot screen. Press
Enteror wait a few seconds for the installer to start booting
Installing
Navigating the Install Wizard
Step 1
Wait for the installer to boot
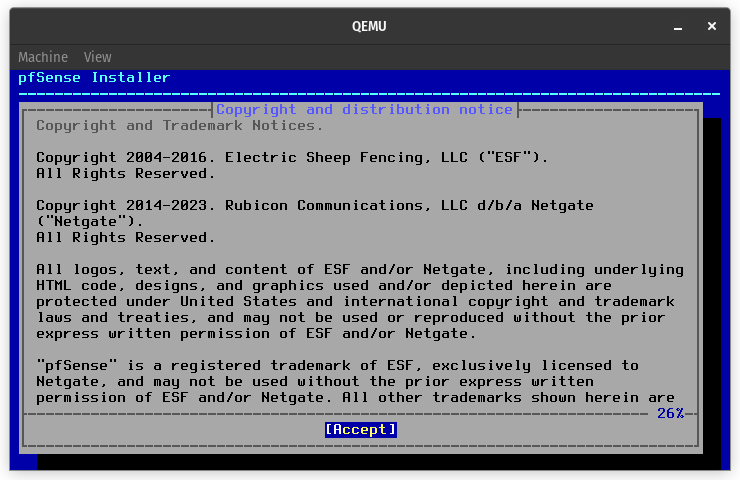
Step 2
Accept the copyright agreement
Step 3
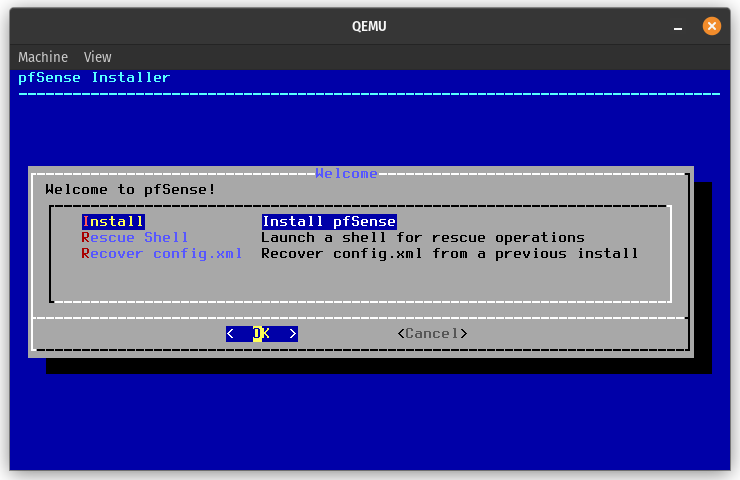
Select `Install` on the welcome screen
Step 4
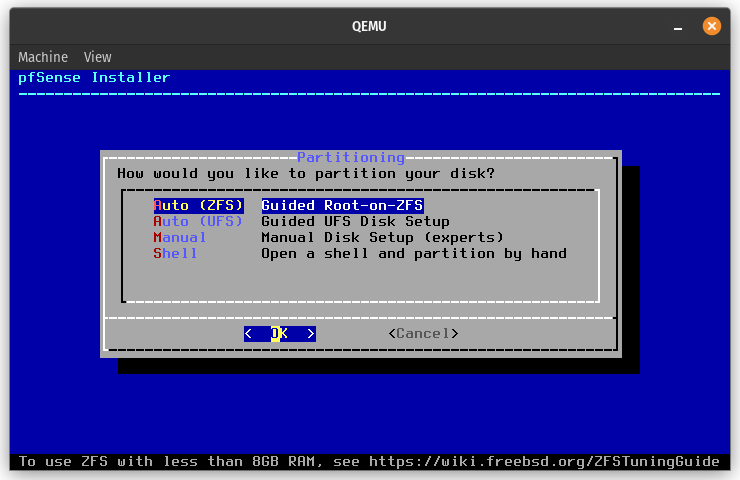
For partitioning, select `Auto (ZFS)`
Step 5
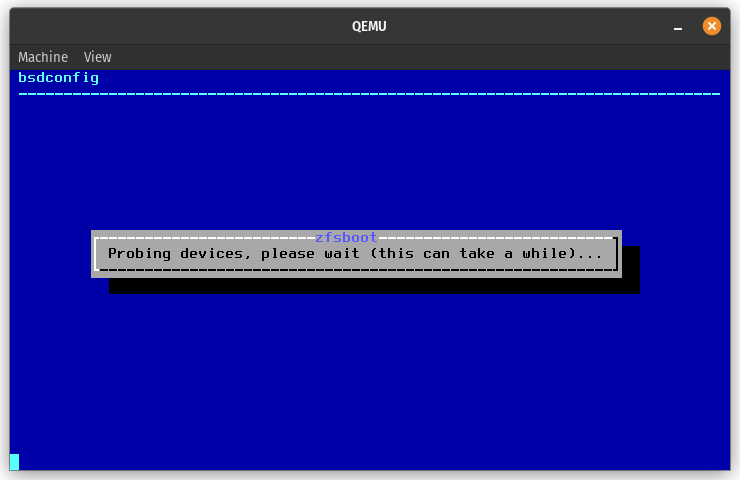
Wait for the installer to probe for devices
Step 6
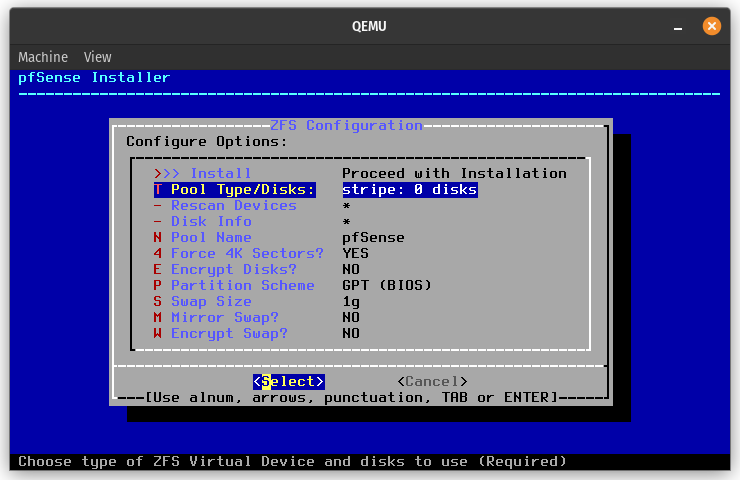
On the ZFS Configuration menu, select `Pool Type/Disks` and press enter
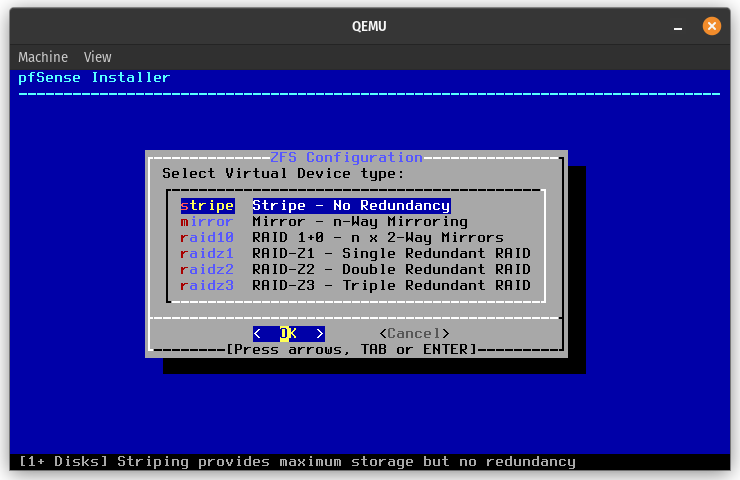
Step 7
When asked for device type, choose `Striped`. Then press enter
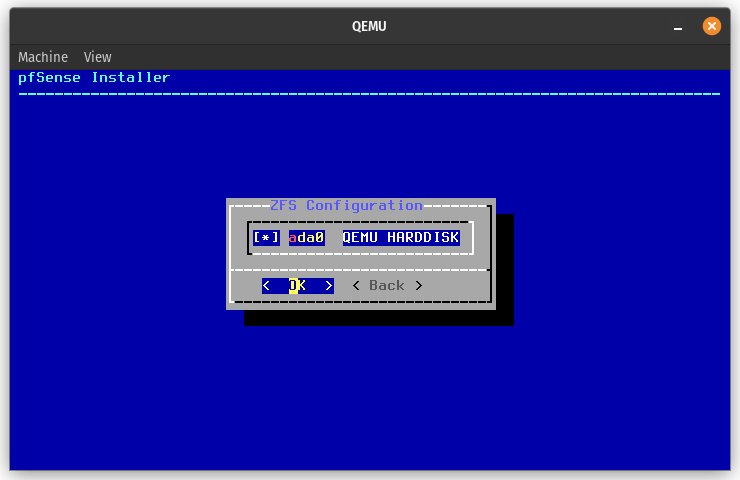
Step 8
Select your hard drive and press space to add it to the pool, then press enter
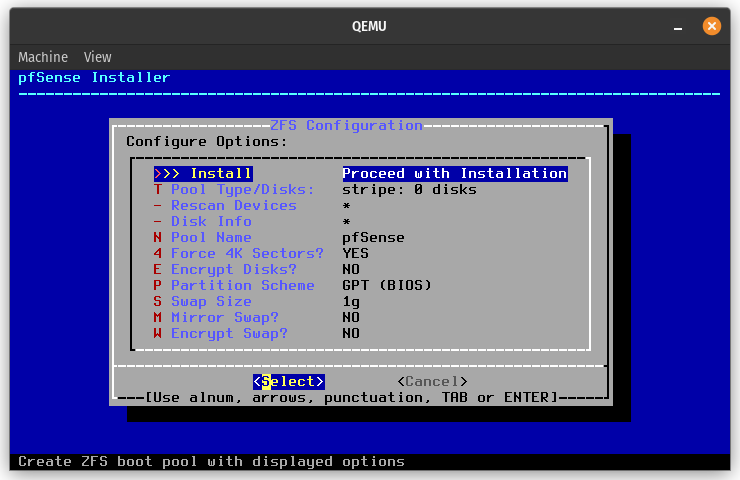
Step 9
You should now be back on the main ZFS configuration window. Select `Install` and press enter
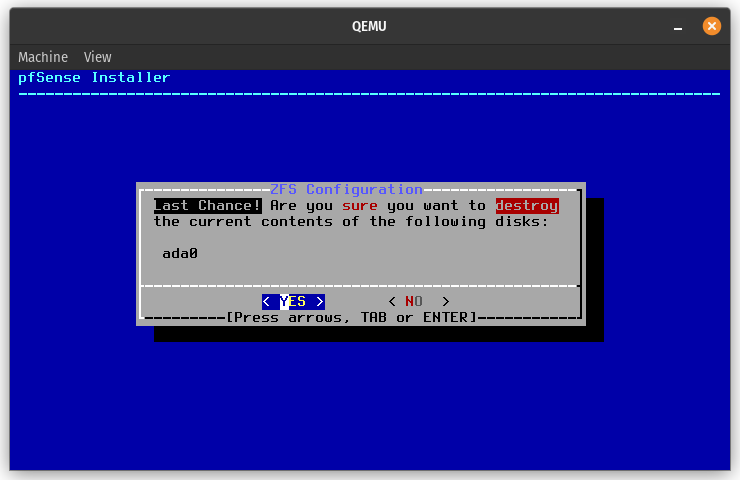
Step 10
Confirm you would like to wipe the drive
Step 11
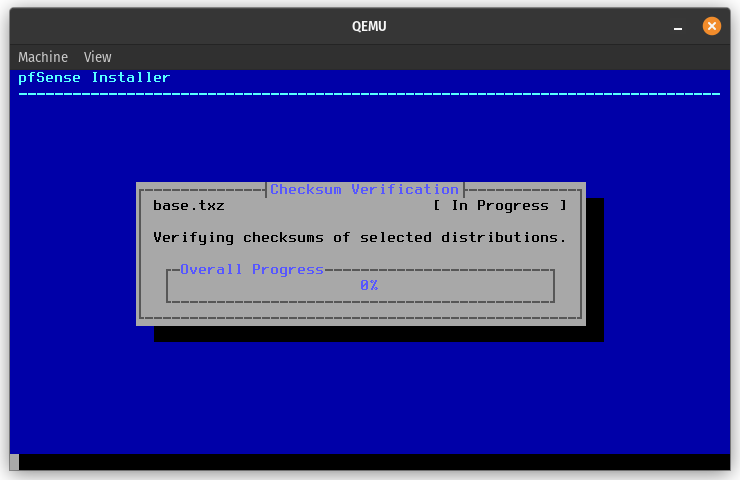
Wait for it to install the Operating System
Step 12
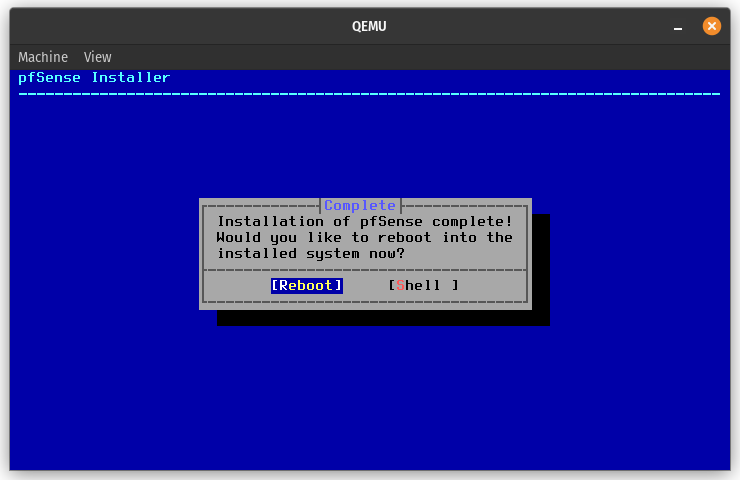
When the installation completes, select `Restart`

Step 13
After the screen goes black, remove your USB drive
Configuring pfSense
Getting the router’s IP address
After the system boot process completes, you should see a screen that looks like this.
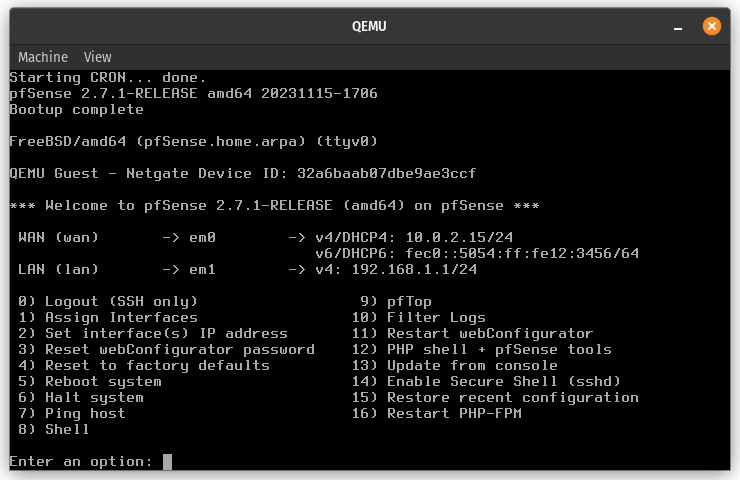
The router displays its WAN address (public IP address) and LAN address (local IP address)
in my case, the local IP address is 192.168.1.1
Accessing the Web Dashboard
Going to http://ROUTER_LOCAL_IP_ADDRESS in your browser should bring you to a login screen
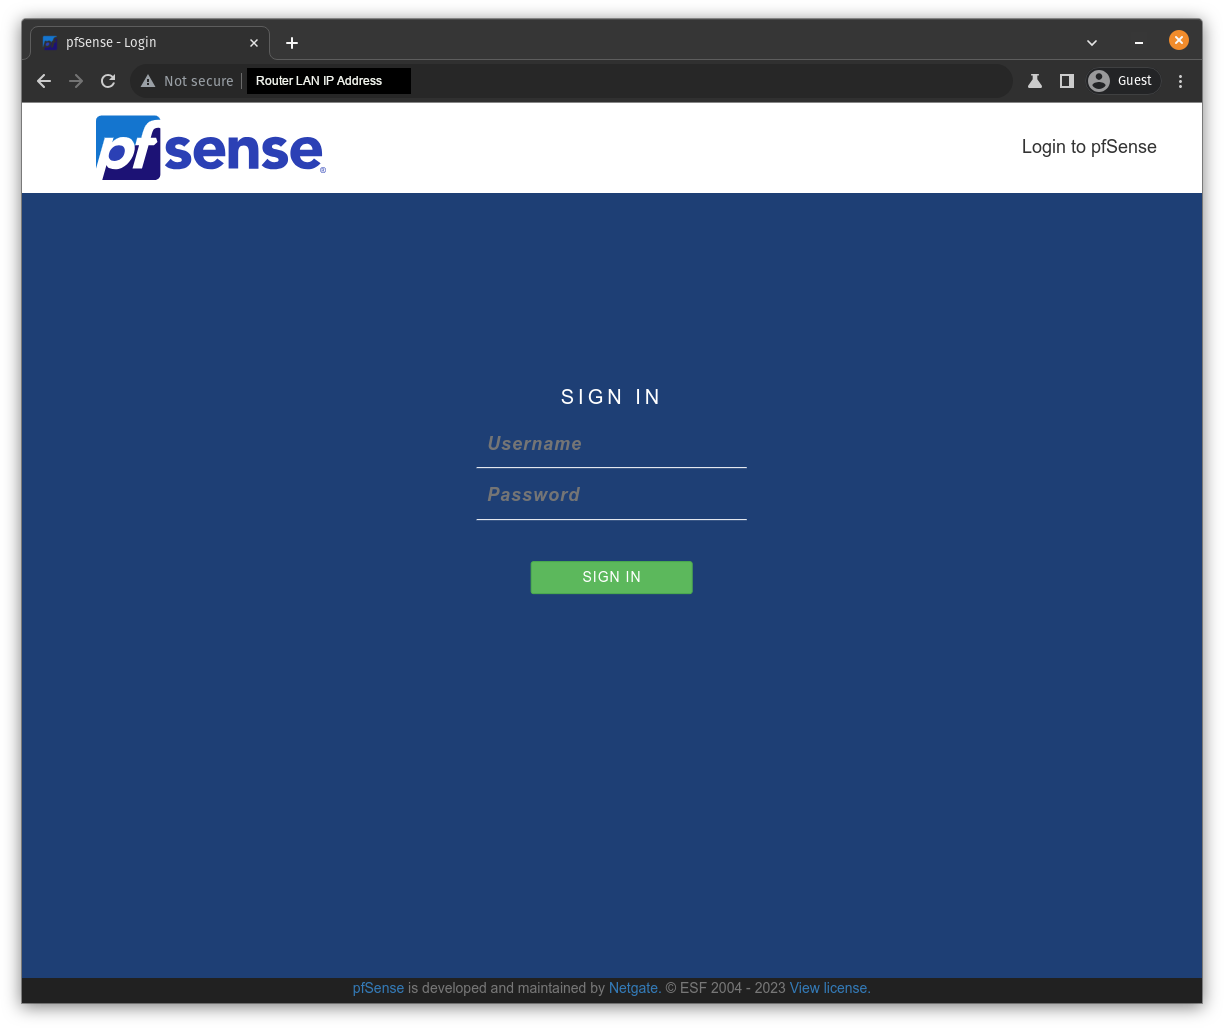
The default username is admin, and the default password is pfsense
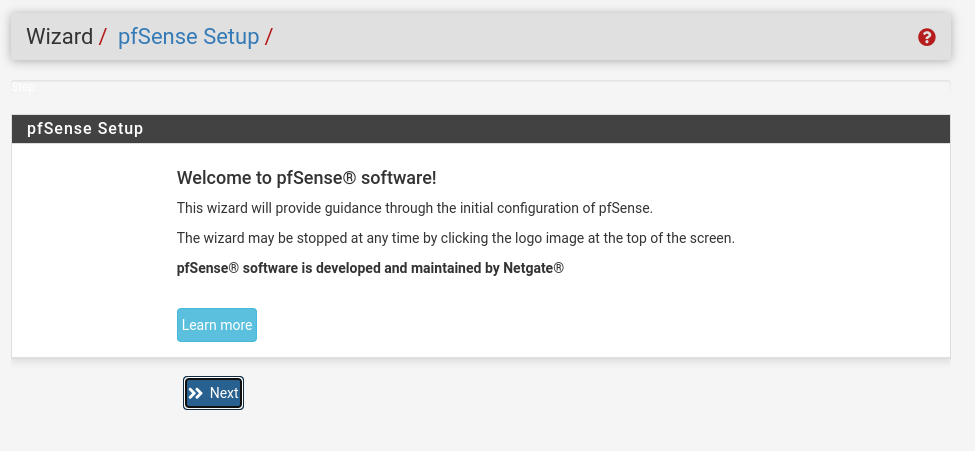
You should now be prompted with a setup wizard.
Skip step 1 since it’s just an ad for paid support
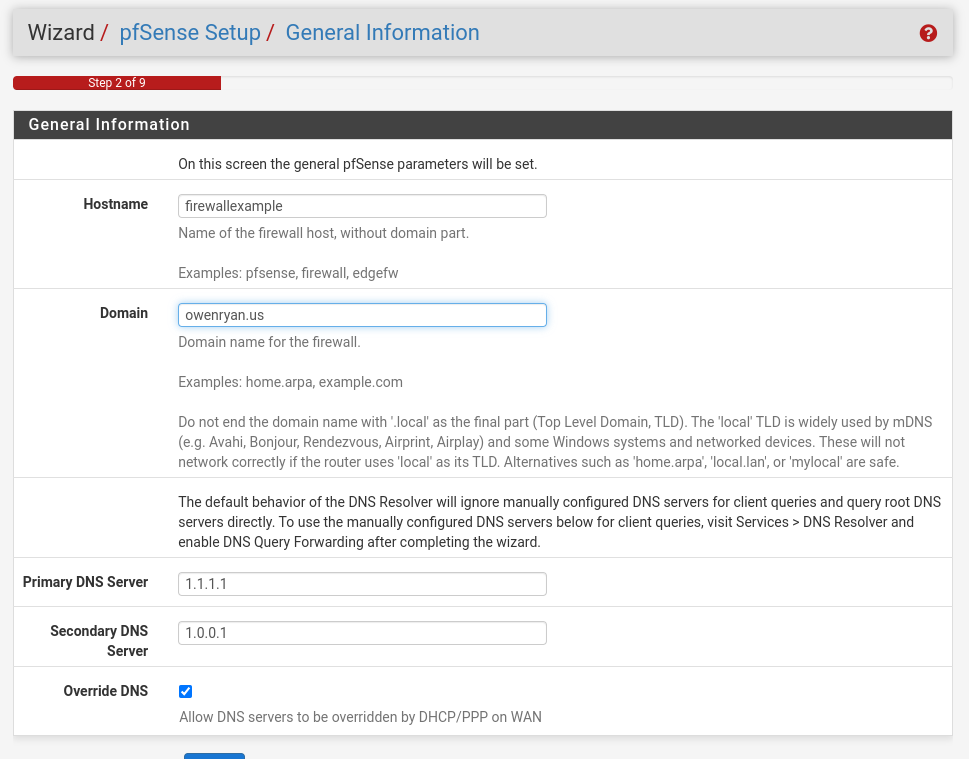
On step 2:
- Set the hostname of the firewall (or leave it as pfSense)
- Give it a subdomain if you have one (TODO)
- Set DNS servers (1.1.1.1 and 1.0.0.1 are maintained by Cloudflare)
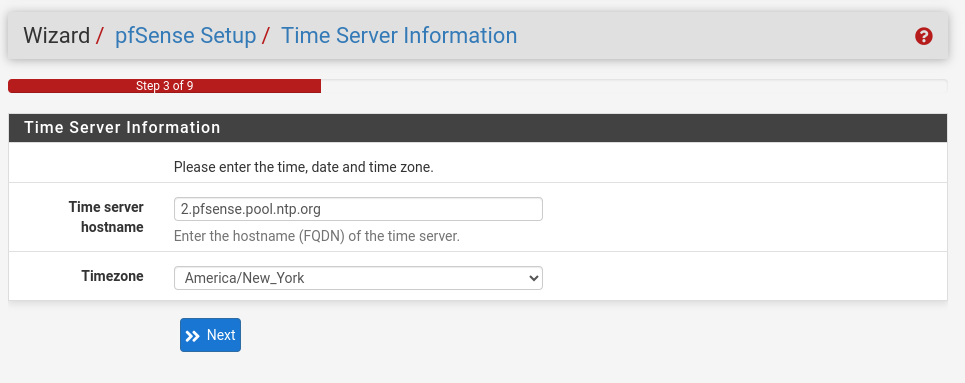
On step 3:
- Set the timezone
- Change the network timeserver if you are into that
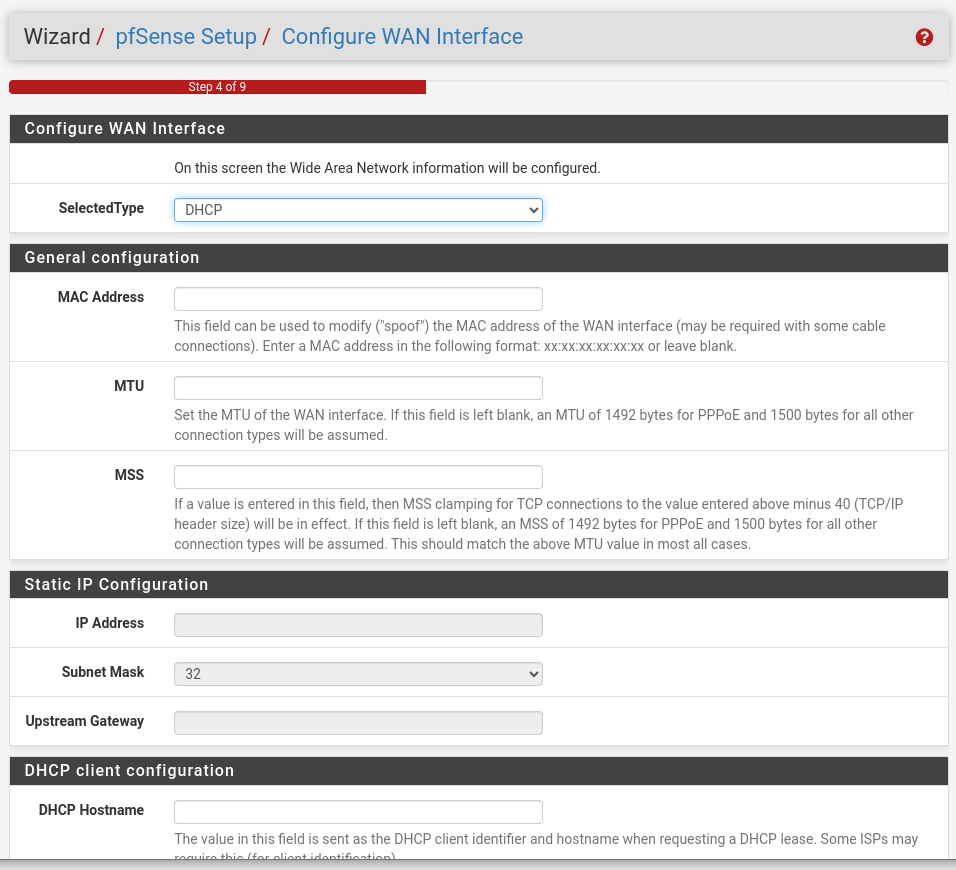
On step 4, this is where the magic happens. If this firewall is between your ISP provided modem, there is a good chance using DHCP will work completely fine, but it depends on your specific ISP.
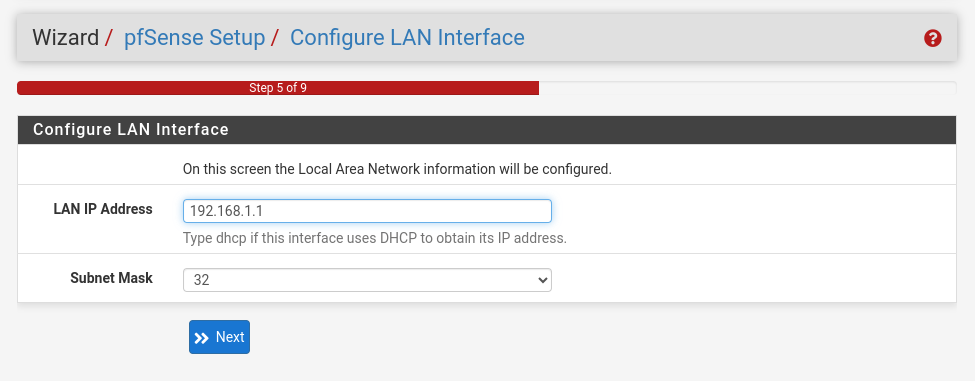
On step 5, you can set your local IP Address range. The default is 192.168.1.1/16 but if you need more addresses, you can use 10.0.0.0/8
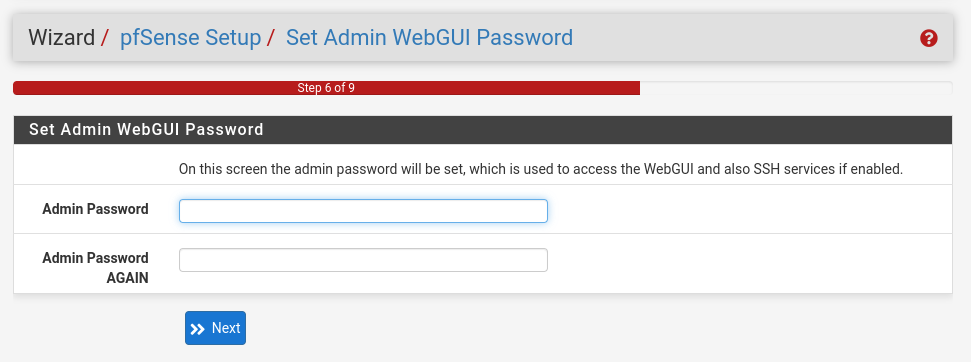
On step 6, set the password for the webGUI. Make sure to use a secure password
On step 7, and 8: reload the system
The firewall will now restart, if you changed the IP address, you need to change the address in your browser
Configuration
Note: This list is not comprehensive.
- Enable dark mode
- System > General Setup > webConfigurator section > Theme
- Set to pfSense-Dark
- Remove “Netgate Services and Support tab from dashboard”
- Press the X in the top-right corner of the window
- Add the traffic graph to the dashboard
- Press the plus in the top right corner of the dashboard and select “Traffic Graph”
- Upgrade to PFSense Plus if you are willing to pay at least $129/year
- Purchase a license from the PFSense Plus store page
- Insert the code provided in System > Register
Setting up IPv6
What is IPv6
IPv6 is a newer implementation of the Internet Protocol than the classic IPv4 and was mainly created to add more IP addresses. IPv4 supports a maximum of 2^32 (4,294,967,296) addresses, while IPv6 has a maximum of 2^128 (340,282,366,920,938,463,463,374,607,431,768,211,456) addresses.
Do I need one?
IPv4 addresses are now a commodity, and thus some people (including me) have moved to hosting exclusively* using IPv6.
*My website is still accessible over the IPv4 internet through a network translation service, but I will probably pull the plug when IPv6 becomes more widely adopted.
Your ISP might have already rolled out IPv6 to your area. You can check your IPv6 status using this website.
Obtaining an IPv6 address block with TunnelBroker
Netgate provides an official tutorial on how to get a block of IPv6 addresses with TunnelBroker and how to configure pfSense to use them.
Installing and configuring Snort
Snort is a rule-based firewall software that blocks incoming and outgoing network packets based on user-configured rules.
Another issue caused by the IPv4 address space being completely full is that people run bots that ping random addresses for both research and malicious reasons.
Installing the Snort package
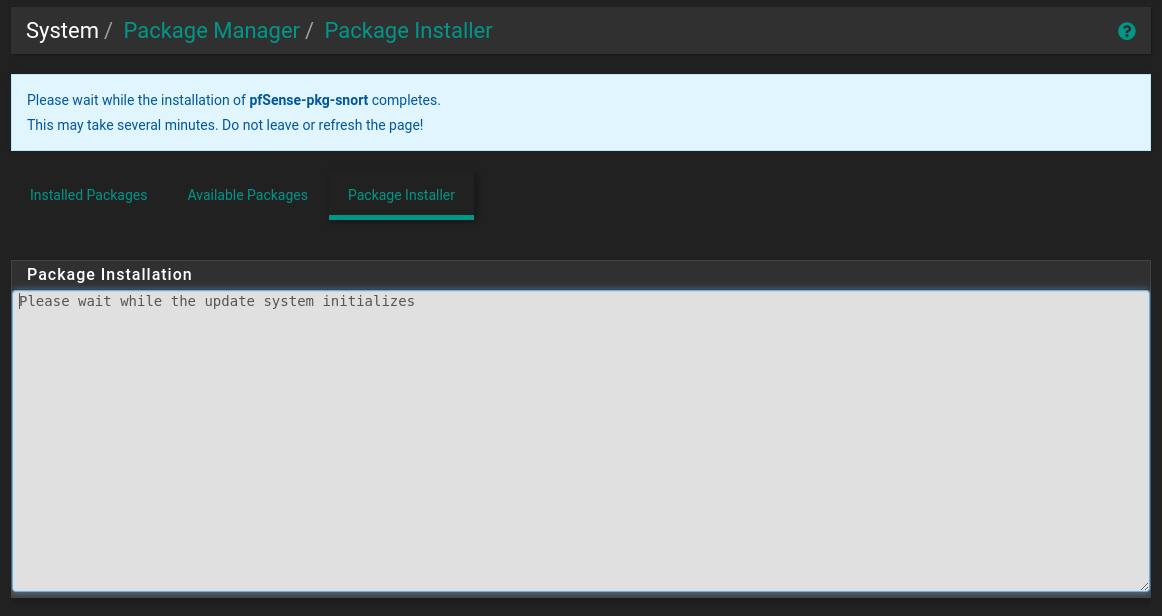
- Open the Package Manager’s Available Package view (System > Package Manager > Available Packages)

- Install the Snort Package
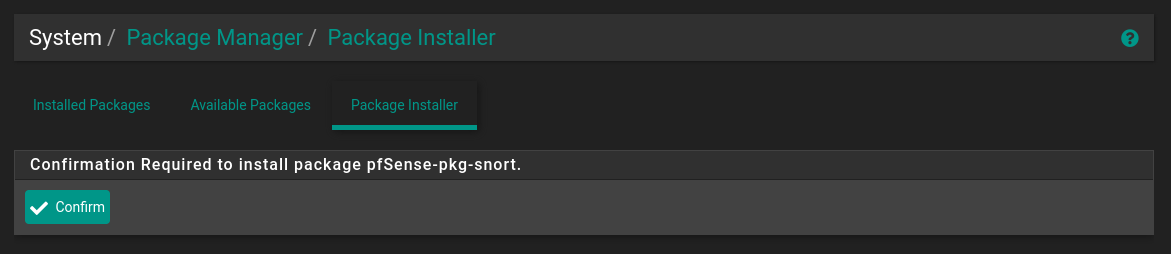
- Wait for the installation to complete
Configuring Snort
- First, go to the snort configuration menu (Services > Snort), and click on the
Interfacestab if it does not send you to that page.
- Add the WAN interface to be filtered by pressing the
Addbutton in the bottom right - Select the WAN interface
- By default, snort will only save alerts of offences. For extra security, you can enable the
Block Offendersoption, but ensure that it will only block the source address, and be aware that on rare occasion you might accidentally block yourself. - Press save at the bottom of the page to save interface settings
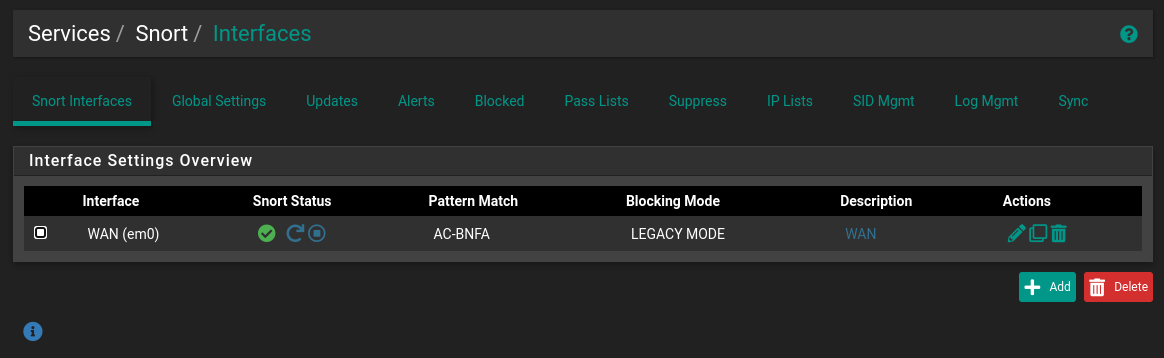
- Going back to the
Snort Interfacestab should show the WAN interface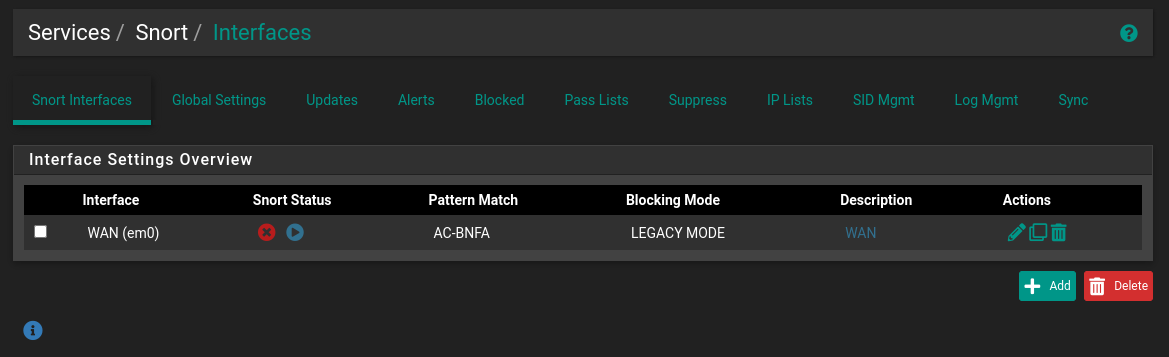
- Enable scanning by pressing the Play button and waiting for it to start
Adding rules
Snort blocks connections based on rulesets that can be obtained from multiple sources:
- Snort VRT (Requires account, has free and paid tiers)
- Snort GPL (Free without account)
- ET Open (Free without account)
- ET Pro (Targeted at large companies; does not publicly list prices)
To Add rules:
- Go to
Global Settings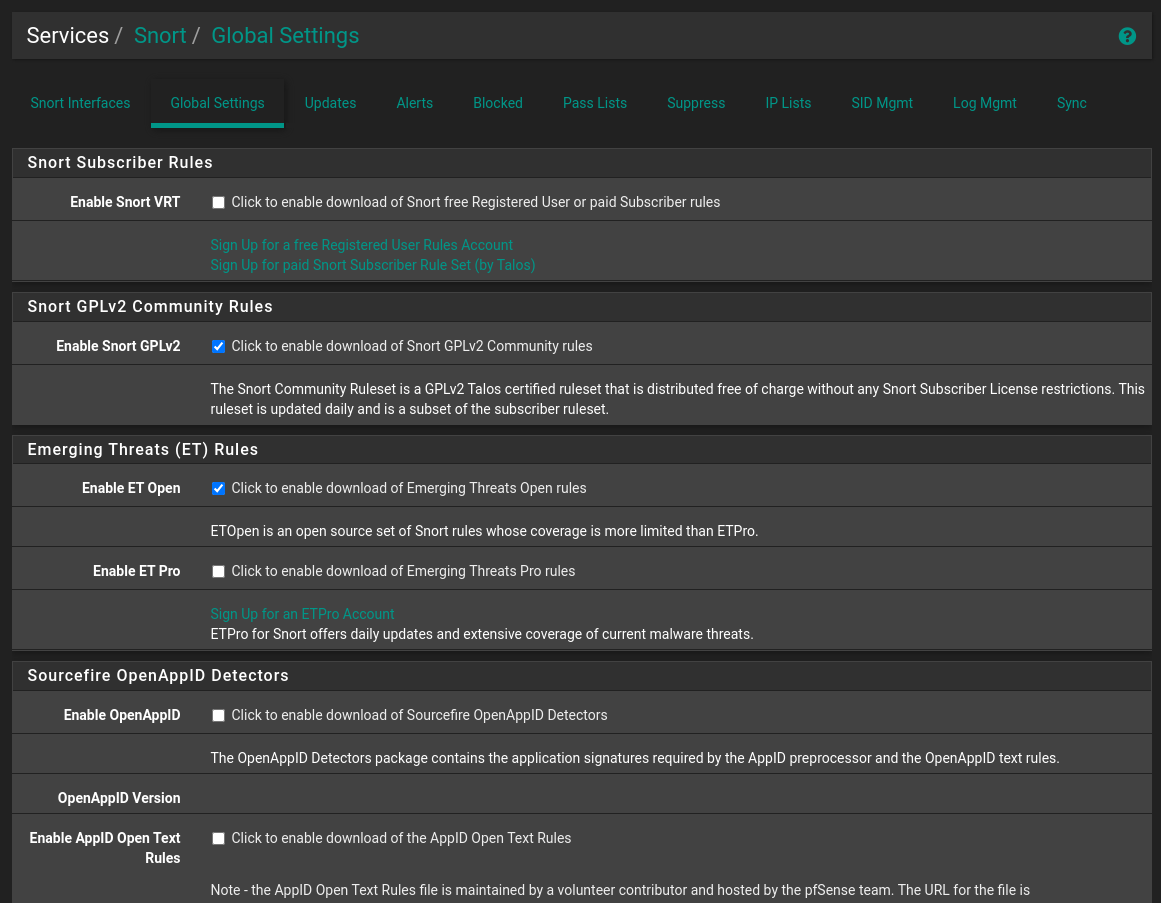
- Enable the rule sources you desire
- Set the update interval to 1 Day

- Press
Save
Downloading Rules
Go to Updates and press the Update Rules button. This will fetch all rules you enabled in the previous step
Configuring rules
- Go to the
Snort Interfacestab - Click on the pencil icon associated with the WAN interface
- Go to the
WAN Categoriestab - Choose the rule sets you would like to use
You can either cherry-pick which rules you would like to apply, or you can press Select All at the top, and manually whitelist proper traffic that gets blocked.
Viewing alerts in real time
In the Alerts tab, you can view IP addresses that have been blocked by the selected rules
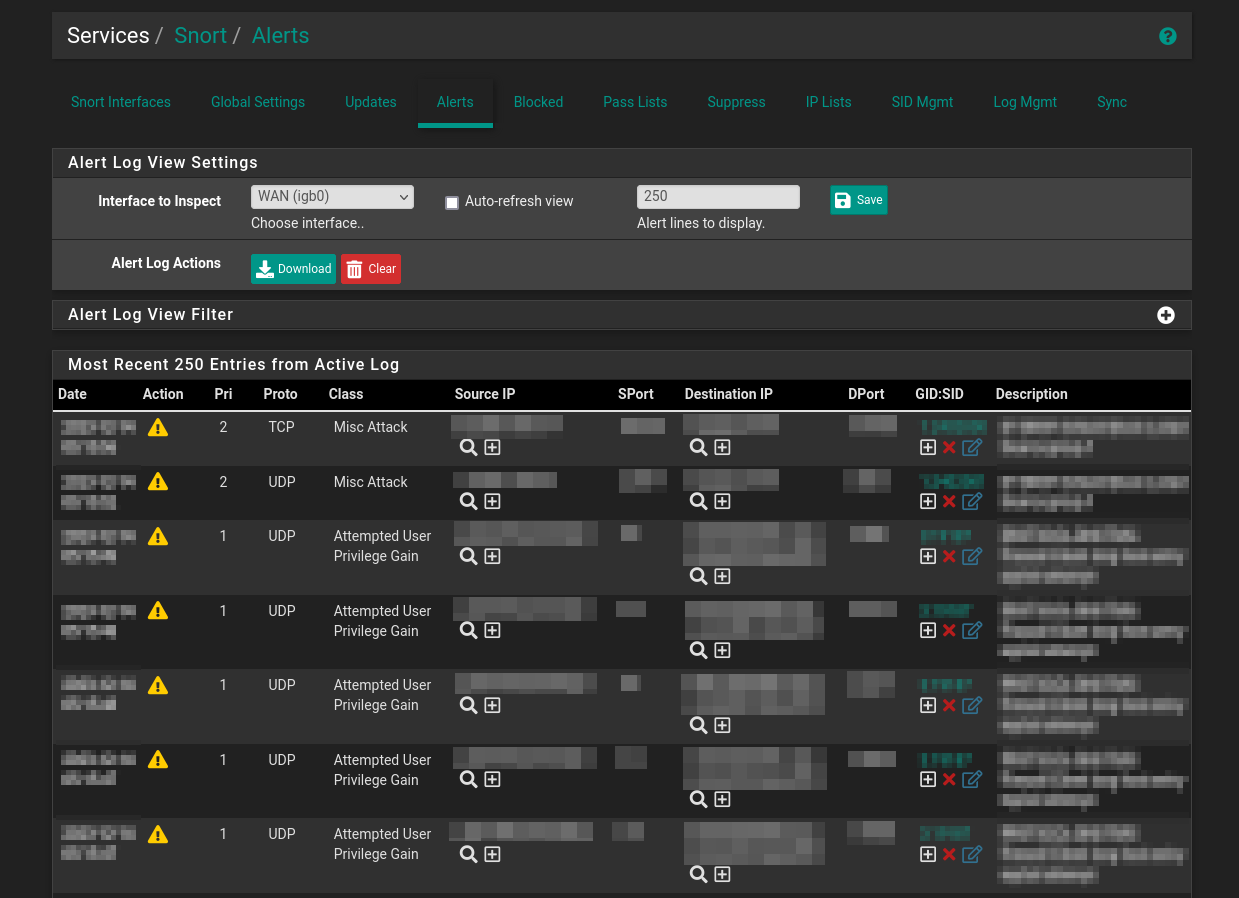
This image is from an actual pfSense deployment, so many fields have been blurred
Conclusion
Congratulations! You now have an open-source* firewall protecting your network! Here are some links to other guides on setting up specific packages/programs on pfSense:
- Creating a Virtual Private Network with Tailscale
- Forwarding ports through your firewall
- Configuring VLANS, DHCP, and other stuff
*If you have chosen to stick with pfSense CE over pfSense+